Tying the knot is a milestone packed with emotion—and your hand bouquet should look as beautiful as the moment feels. Instead of ordering a pre-made design, create a personal touch with these five practical DIY tips. From color matching and flower conditioning to camera-ready styling, here’s how to craft a chic, budget-friendly wedding hand bouquet.
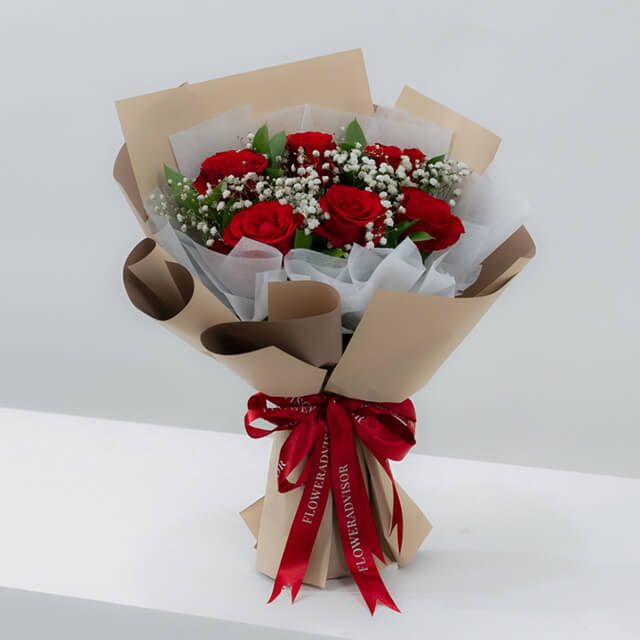
Looking for gifts? Explore our rose collection.
1) Choose Your Dress First—Let the Bouquet Complement, Not Compete
A stunning bouquet should frame your look, not overshadow it. Let your dress dictate the bouquet’s style, color palette, and scale. A good rule: the bouquet should be narrower than your waist for elegant proportions. Minimal silhouettes pair well with posy bouquets, while romantic gowns suit looser garden-style arrangements.
- Textures: Sleek satin gowns love clean roses or calla lilies; lace pairs nicely with airy baby’s breath and spray roses.
- Color cues: Match undertones (warm ivory ↔ peachy blooms; cool white ↔ bluish greens or dusty pinks).
- Shape: Keep it “hand-held friendly”—compact, balanced, and easy to grip.
2) Know Your Flowers—Seasonality Saves Money & Looks Fresh
Choosing seasonal flowers keeps costs down and freshness up. Many stems arrive in bud and need time to open. For example, peonies often require at least a day to bloom before arranging.
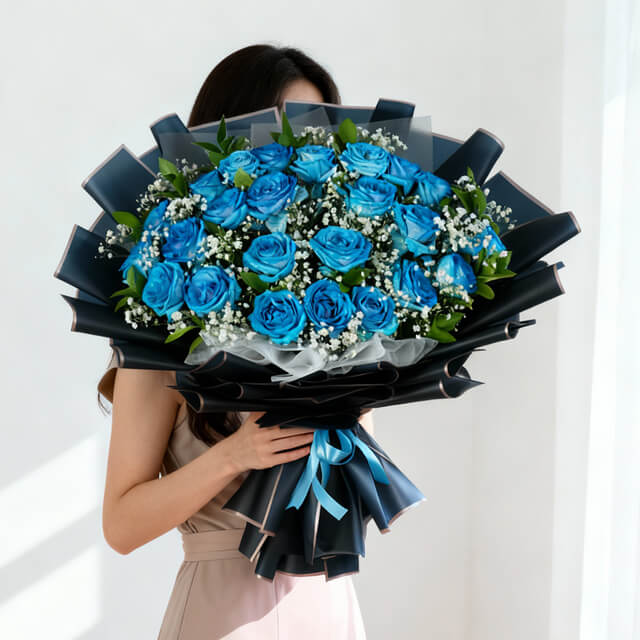
Looking for gifts? Explore our blue rose collection.
Spring
Tulips, orchids, sweet peas, lily of the valley.
Summer
Peonies, lilies, roses, magnolias, sunflowers.
Autumn
Asters, daisies, dahlias, chrysanthemums.
Winter
Roses, tulips, anemones, ranunculus.
Pro tip: Mix 1–3 premium focal flowers with budget-friendly fillers (statice, caspia, eucalyptus) for volume without overspending.
3) Prep Like a Pro—Your DIY Toolkit & Practice Plan
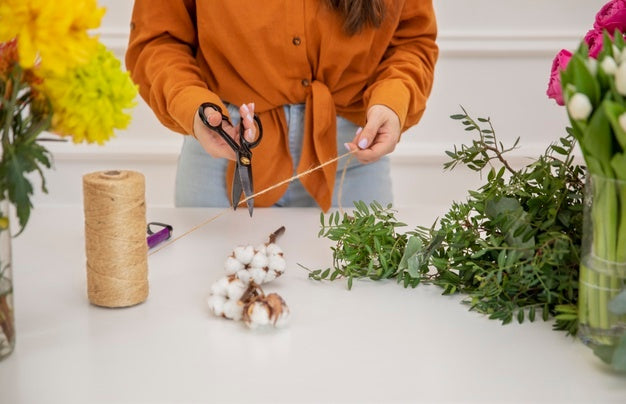
Practice a mock bouquet once or twice before the big day to find your rhythm and final stem count. Gather everything first so assembly is smooth.
- Flower shears or sharp pruners
- Floral tape and optional floral wire
- Ribbon or fabric wrap (satin/velvet/linen)
- Bouquet pins
- Chosen flowers + greenery (eucalyptus/ruscus/leather fern)
- Clean bucket & fresh water with flower food

Step-by-Step: Classic Hand Bouquet
- Remove foliage and thorns below the binding point.
- Trim stems to similar length for control and neatness.
- Create the base with 4 focal stems, secured with floral tape.
- Leave 4–5 inches from the tape to the stem ends for a comfortable handhold.
- Add flowers around the base, rotating the bouquet in your hand to build a spiral (helps stability).
- Blend colors and textures for depth—avoid overfilling; airy space = modern elegance.
- Bind again about 1 inch below the flower heads to secure the shape.
- Wrap ribbon to cover the tape completely and pin discreetly at the back.
4) Make It Camera-Ready—360° Checks & Lighting Test
Hold the bouquet in front of a mirror and rotate it to check all angles. Snap a quick phone photo under similar lighting to your venue. Fill any gaps, remove stray leaves, and confirm the front face (the side you’ll present in photos).
- Balance: Keep focal blooms slightly off-center for natural movement.
- Scale: Ensure the bouquet doesn’t hide your waist or key dress details.
- Grip: Test comfort—if it slips, add a touch more tape under the wrap.
5) Keep It Fresh—Conditioning & Day-Of Care
Freshness sells the look. Ask a bridesmaid to help with quick maintenance between events.
- Hydrate stems in clean, cool water with flower food for at least 2–4 hours pre-assembly.
- Re-cut stems at a 45° angle before binding; remove leaves below the waterline.
- Mist lightly (except on delicate petals that bruise) and store in a cool room away from direct sun/AC blasts.
- During reception: re-cut 1 inch and place in water when not in use.
DIYing a hand bouquet is more delightful than daunting—once you understand the basics, it becomes creative and fun.
Related Products
Wonder Red Rose Bouquet I Need U
- from SGD 56.00
- from SGD 56.00
- Unit price
- / per
Heartfire Rose
- SGD 68.00
SGD 83.00- SGD 68.00
- Unit price
- / per
2 Purple Roses, 3 Pink Roses - Jeannette
- SGD 69.00
SGD 106.00- SGD 69.00
- Unit price
- / per
Wonder Blue Roses Arrangement
- from SGD 62.00
- from SGD 62.00
- Unit price
- / per
Triple Broccoli Bouquet
- SGD 57.20
SGD 71.50- SGD 57.20
- Unit price
- / per
Eternal Roses Duo
- SGD 72.00
SGD 82.00- SGD 72.00
- Unit price
- / per
Special Pink Gerberas Bouquet - Isla
- SGD 57.60
SGD 88.60- SGD 57.60
- Unit price
- / per
Elegant 10 Red Roses Bouquet - Jacqueline
- SGD 78.30
- SGD 78.30
- Unit price
- / per


